The couple behind a log home Villa Hiisi turned their dream into reality in 54 weeks: they built their dream home. In this article, Johanna and Henkka describe the key stages of building a house and how long each took, to give prospective builders an overview of the entire process of building a detached home.
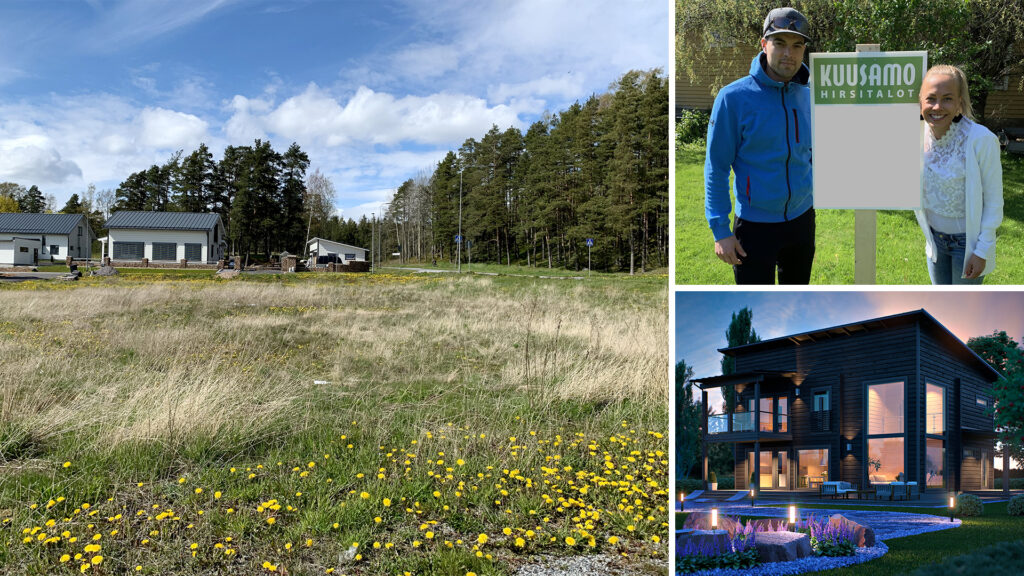
Our house project got off to a flying start just as the global pandemic was changing the daily lives of every Finn. On Saturday evening, the idea of buying a plot of land was born; on Sunday, we found the plot where we now live; and just over a week later, we put the plot on reserve. We had, of course, dreamt of building a detached house in the future, but we didn’t see it as a realistic option – after all, our jobs were in two different towns 140 kilometres apart.
A suitable location and the rise of remote working have made our dream a reality. Within a year, this dream became a reality. It required good teamwork with the house supplier and contractor, tight scheduling, and reliable partners to help us choose the right materials. It also required us to have the courage to take on a major commercial project and to work tirelessly with a twinkle in our eyes.
Choosing a house builder
Building a detached house begins with choosing a house builder. On that Sunday evening mentioned above, we found some interesting timber and log houses and contacted several house builders. At the same time, we looked at the builders’ renderings and floor plans for various house models, and the requirements for our home began to take shape: spacious and two-storey, several bedrooms, two separate WCs, a utility room and a study.
As we compared different house models, we started running the budgeting Excel spreadsheet, and it has been running tirelessly ever since and has been an important part of the build. 😉 More on budgeting in the previous blog post.
We began discussions with a few house suppliers, and our meetings with them gave us a clearer picture of what sort of house would comply with the local planning regulations, what the various house options cost, and what those cost elements consist of.
At this stage, every builder also has to make a choice about what kind of house package to buy and how to value their own free time: how much of their own time are they prepared to devote to the build, and how much of that time is actually available for building after work? The total duration of the project depends on whether you choose a move-in ready, fit-out ready or weatherproof solution.
It was also important to us that the architectural details of the house were combined with practicality. Examples of this included the distinctive details of the façade and solutions that make everyday life easier, such as a separate entrance to the utility room.
The building permit process
When we bought the house kit, the Kuusamo Log Houses representative drew up a timeline for us, which helped us visualise how long the building permit process would take and when the logs might arrive on site. The duration of the permit process varies from a few weeks to several months, and in our case, the estimated duration was around two months. It is worth noting that during holiday periods, processing may take considerably longer.
In June 2020, we finalised the purchase of the plot and the house, after which we put the groundworks out to tender and commissioned a soil survey. With the start of construction looming on the horizon, we made sure we had enough paperwork to keep us busy over the summer holidays so that all the documents would be ready by August, when the building control department returned from their holidays.
The planning permission application proceeds smoothly when all the necessary documents are included when submitting the application. The building control authority’s website for each locality provides a detailed description of which documents are required and in what format they should be submitted. Here you can read about the documents generally required to apply for a building permit for a detached house in Finland.
Often, the lead designer (who may also be the site manager) prepares the actual permit application documents and completes the necessary forms. This ensures that any shortcomings are identified before the application is submitted. After submitting the building permit application, the lead designer should actively monitor the progress of the permit process at the building control office so that any deficiencies or corrections can be submitted to the building control office as quickly as possible, should they be required.
Obtaining a building permit is a key milestone in the construction process. As soon as we received the permit, we notified Kuusamo Log Houses. We removed the conditions from the procurement contract, after which we received a reply from the factory confirming the delivery week for the logs. We now had a good schedule for the external work.
Exterior construction of a detached house
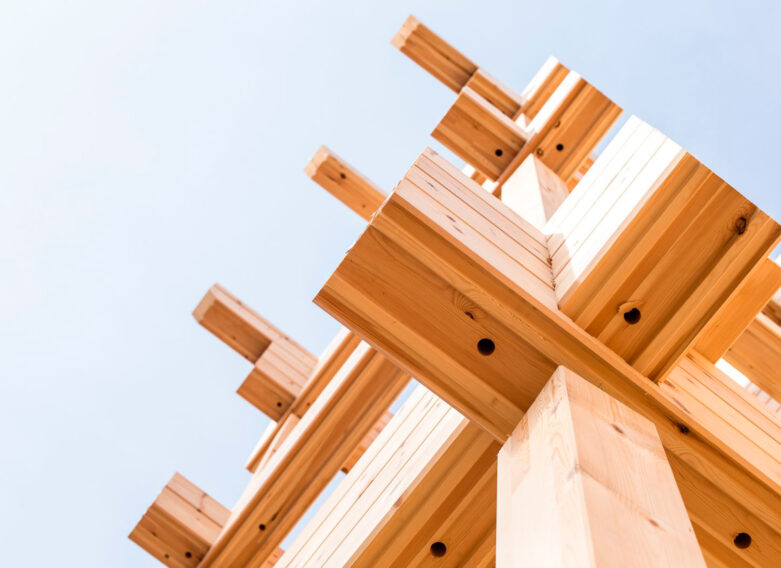
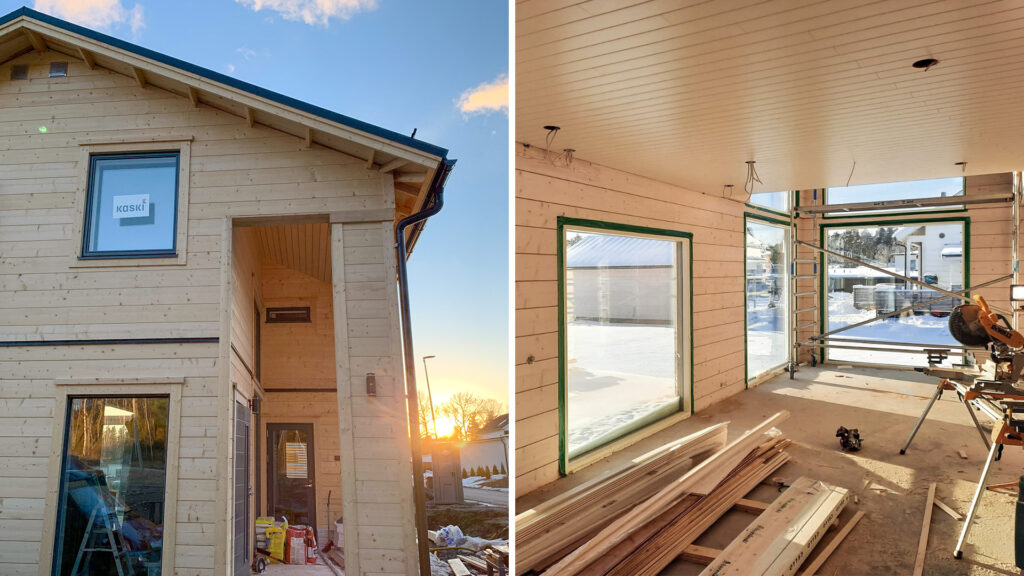
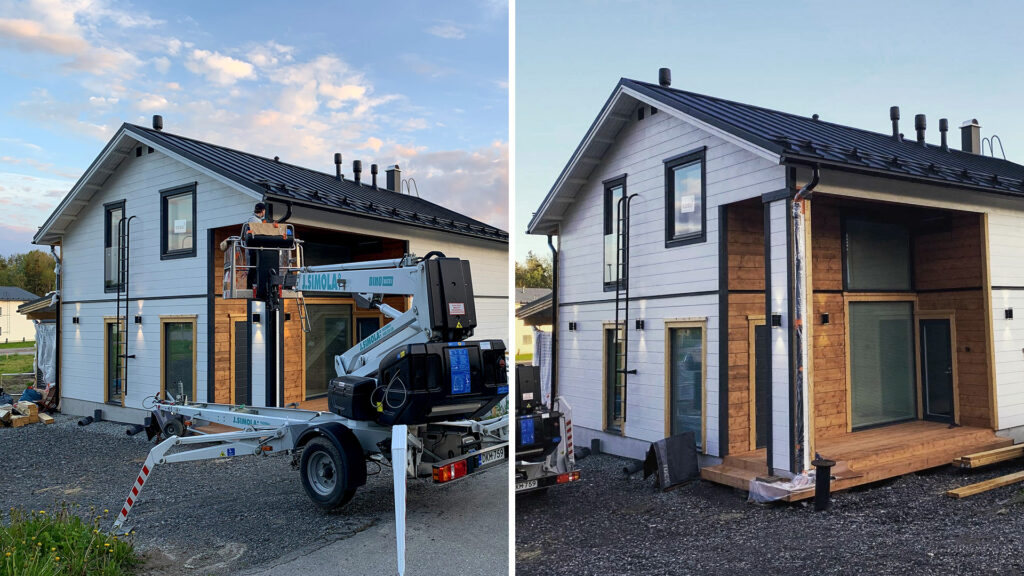
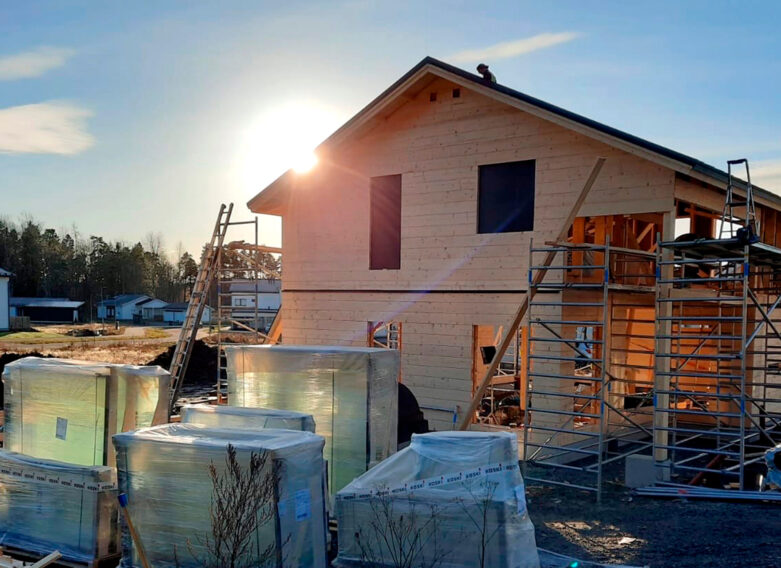
The most tangible stage of building a detached house is the external construction. We reached this stage in September, when groundworks began on the plot. The groundworks were completed in a couple of weeks, after which we had the house’s foundations laid.
The results of the soil survey and the planned building have a significant impact on whether the foundations are laid directly on the ground or using piles, which is why it is worth carrying out the soil survey in good time. The costs of the foundations also vary; generally, piling is more expensive than building ground-supported foundations, but there are exceptions, depending on the soil and its composition.
Our house was built using steel piling, on top of which the plinth and hollow core slabs were cast. This stage took about a week. After the foundations were laid, on a rainy November afternoon, a large lorry from Kuusamo Log Houses delivered the logs to the site, and after that we were able to start erecting the house. In less than a week, the house had reached ridge height, which was another major milestone in the construction. Next came the installation of the windows, and the workers from Rakennuspalvelu Tähtinen got to work on the floor screed. We aimed to pour the floor as quickly as possible, as we knew that drying the floor would take several months at that time of year, and the wet winter might further prolong the drying time. The basic rule of thumb of 1 cm per week did not apply to our project, at least; instead, the drying took longer.
Interior construction of a detached house
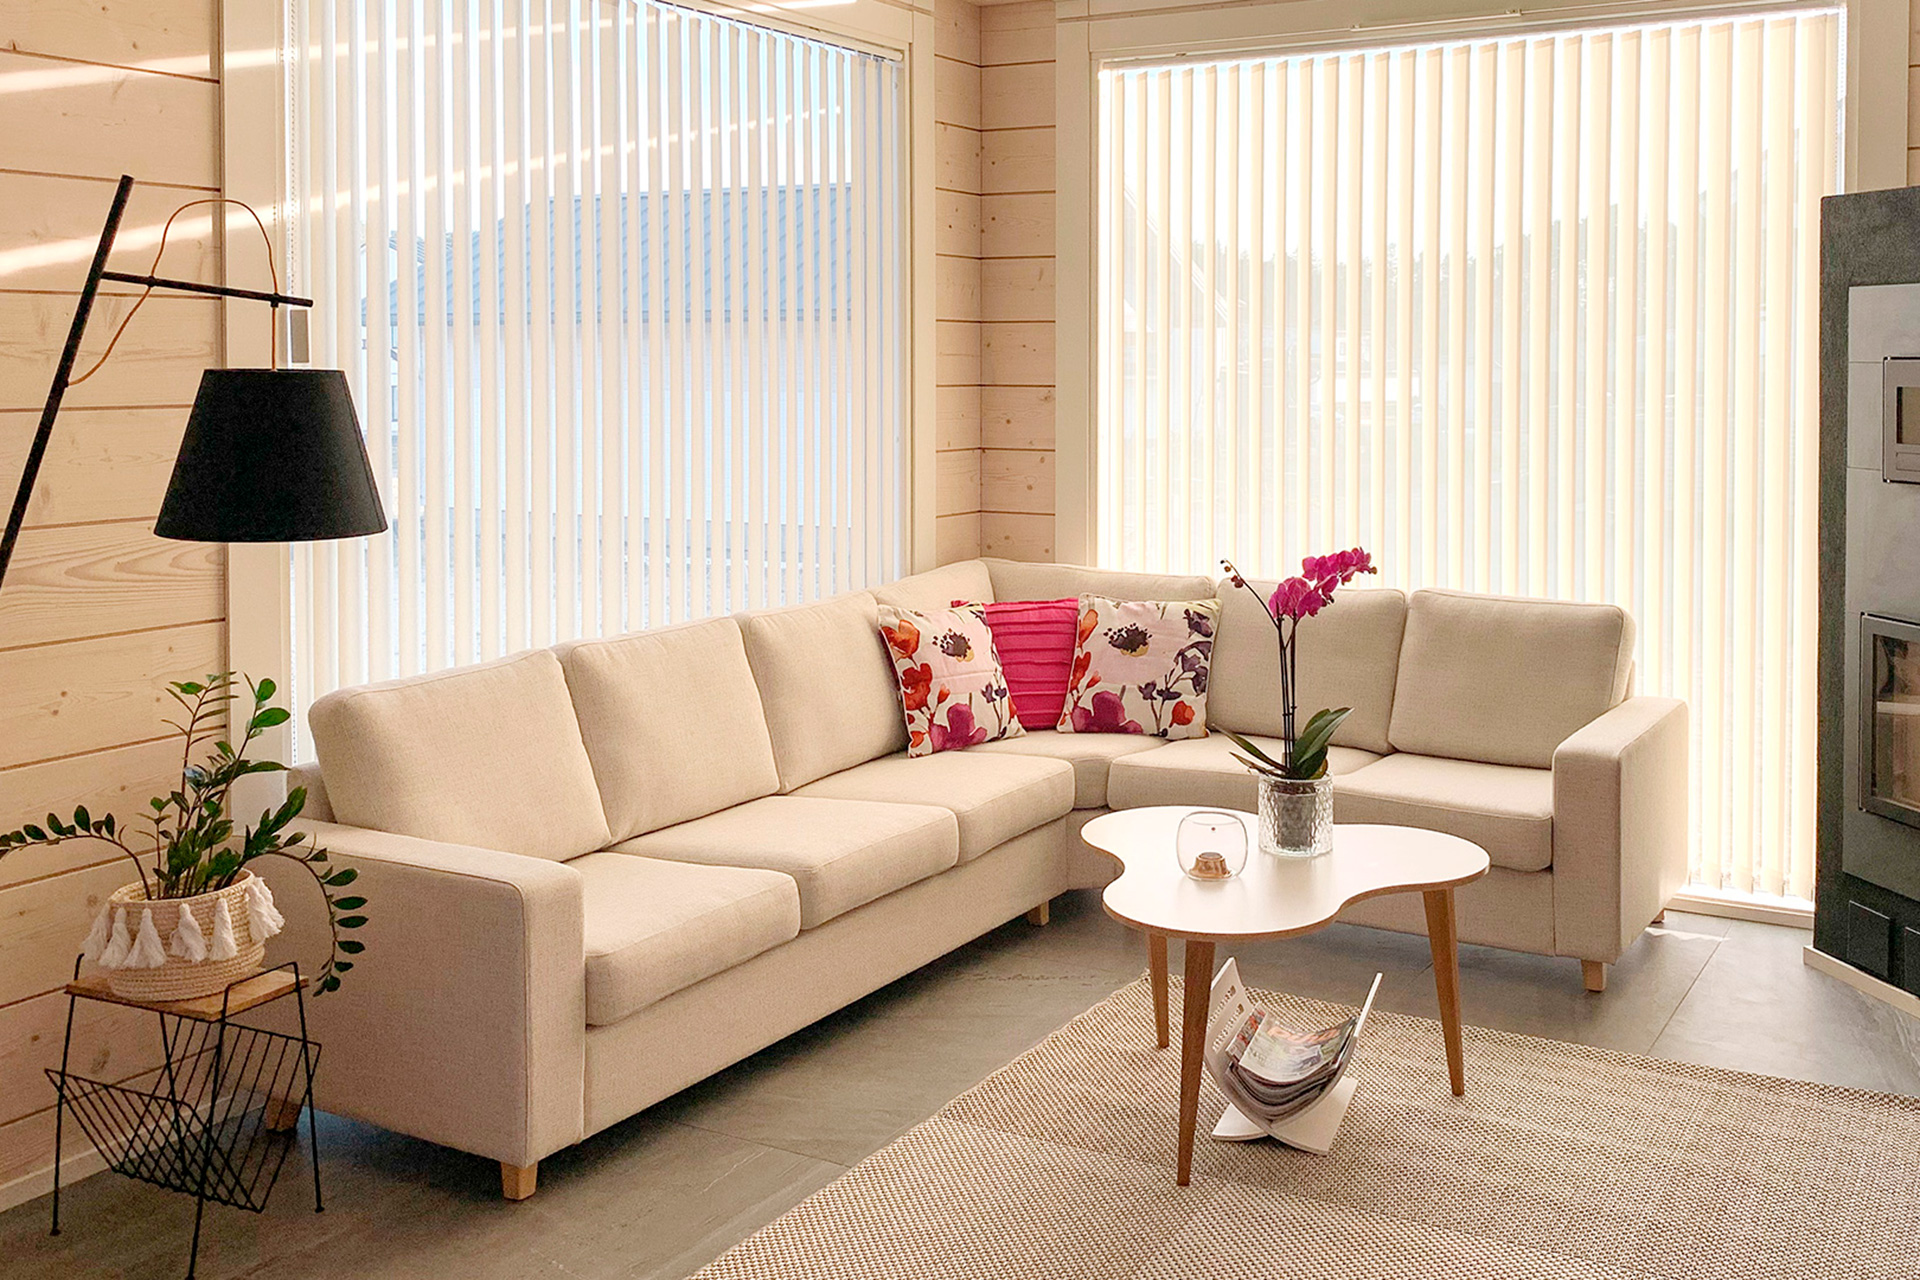
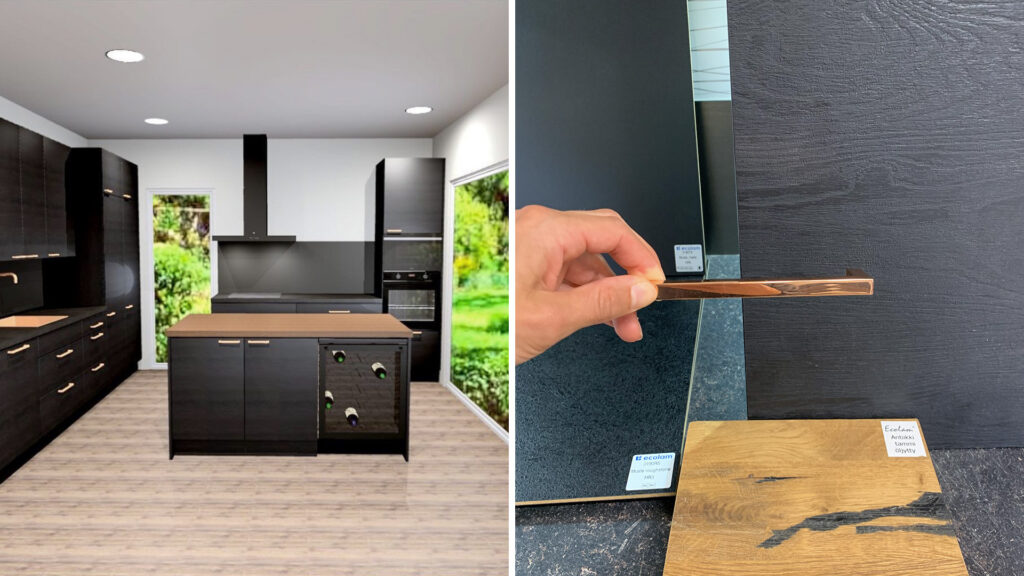
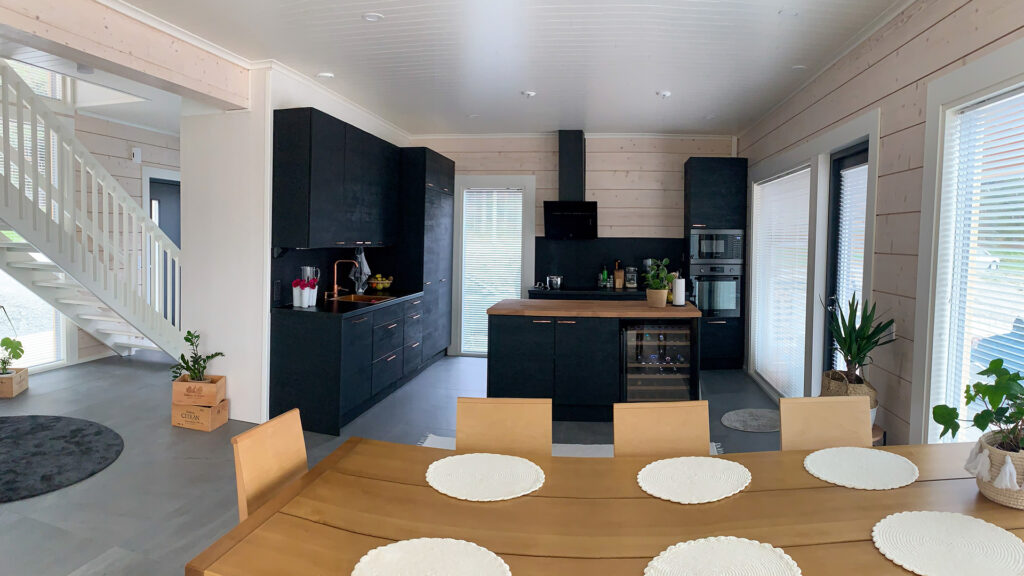
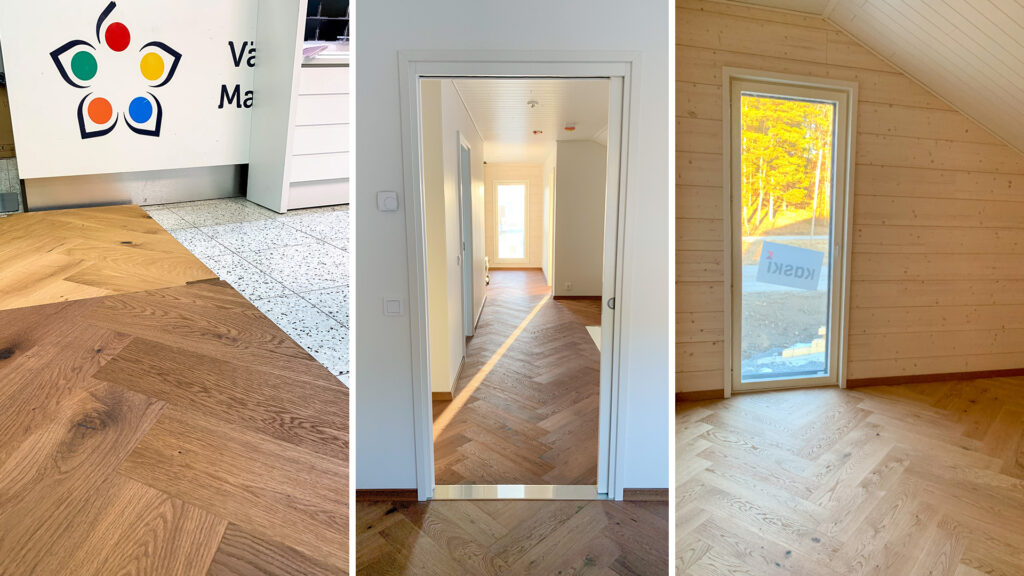
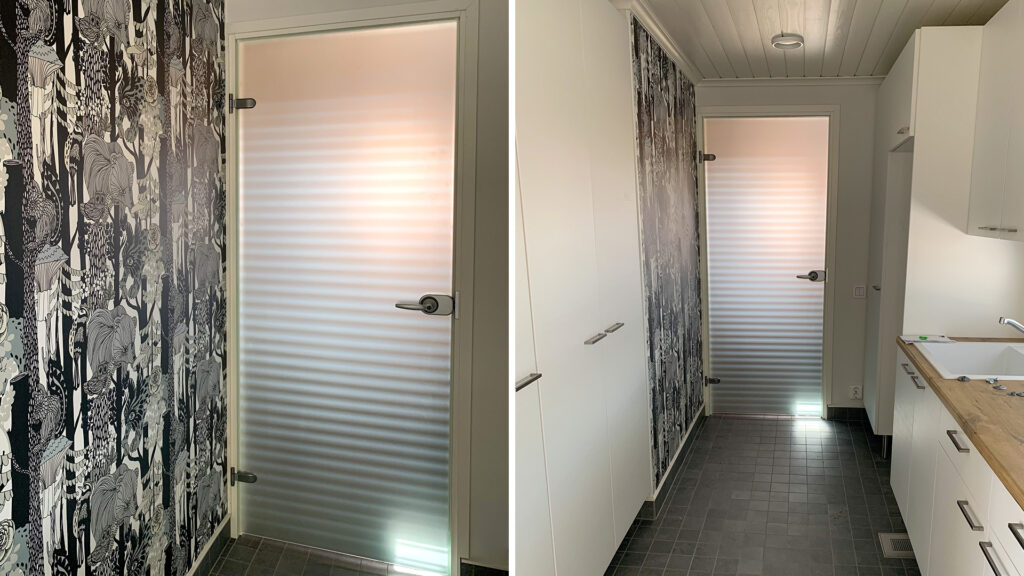
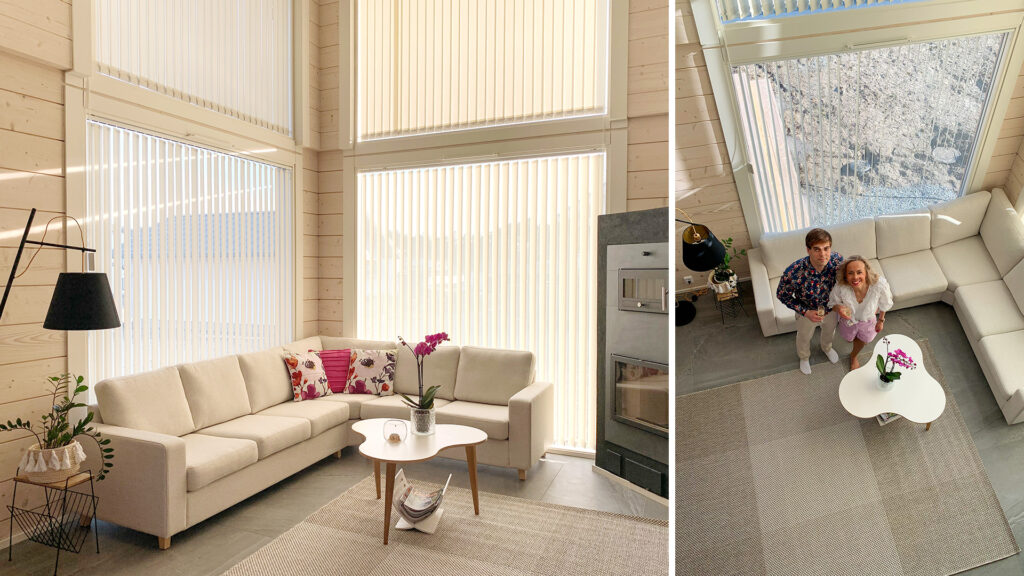
If you buy a house kit to shelter from the weather, the interior construction of the house begins at this point. During the exterior construction, we also had to start making choices regarding interior materials – perhaps the most challenging phase of house building in many ways; what pleases the eye does not always please the wallet. And which materials go well together, withstand wear and tear, and suit the character and overall look of the house?
This is where professionals in interior design and fit-out are a great help. This may mean hiring an interior designer, a service used in every other house in the Helsinki metropolitan area. For us, the expert interior design firm ATV Aninkaisten Tapetti ja Väri, along with their extensive networks, helped us make our material choices. Rakennuspalvelu Tähtinen, who acted as the main contractor, also provided guidance on the installation of different materials and offered practical tips on material choices. If you are doing the interior work yourself, interior construction requires a significant amount of time and expertise.
It is easy to go over budget when choosing materials. All new materials, such as black WC fittings, can easily push the budget beyond the agreed amount. Lighting design and its implementation also add both character and costs to the house build.
If there is one thing the reader takes away from this article, I hope it is this: set aside a separate budget for materials and double it. There’s no way you won’t end up spending all that money – if not during the actual construction phase, then you’ll be grateful for this tip when it comes to painting your house and doing yard work. 😉
It was hard to believe beforehand, but interior design choices can easily eat up a significant chunk of the budget, and on the other hand, you don’t necessarily want to skimp on them; after all, we spend most of our lives at home, and carefully considered material choices create a unique and functional whole from the house.
Overall, choosing interior materials requires making a number of decisions. There are surprisingly many different options for skirting boards and ceiling mouldings once you start looking into them!
Finishing touches
Once the floor has been laid, we are entering the final stages of construction. It took four months for our floor screed to dry, and during that time we completed the upper floor from floor to ceiling, built a brick baking oven and finished the walls on the ground floor.
After the floor was laid, we were able to walk up the stairs to the upper floor for the first time. What a luxury that was after six months of climbing a ladder! The last things to be installed were the fitted units in the kitchen, WC and utility room, as well as the showers and taps. And of course, not forgetting the skirting boards; they added the finishing touch to our new home.
Before the handover inspection, we finished off the small details and tested that the appliances were working properly. After that, it was time for the handover inspection in mid-April. This can be considered one of the most important milestones in the build – it was time to pack our belongings into boxes and chill the champagne; the handover inspection had been passed. Do remember, however, to arrange the final inspection in good time.
Moving into our own home
This is the final stage of the build. We’ve now been living in our new home for a month and have settled in really well. There’s been more to do than ever before: we’ve painted the house, tarmac-laid the yard, started implementing our garden plan and laid the foundations for the carport. At the same time, we’ve learnt lots of new skills, and it’s been so relaxing to pick up a paintbrush after a day of desk work!
Johanna and Henkka
P.S. You can follow our post-move adventures on Instagram @villa_hiisi.
Other guest posts on Villa Hiisi:
-
Guest article
-
Guest article