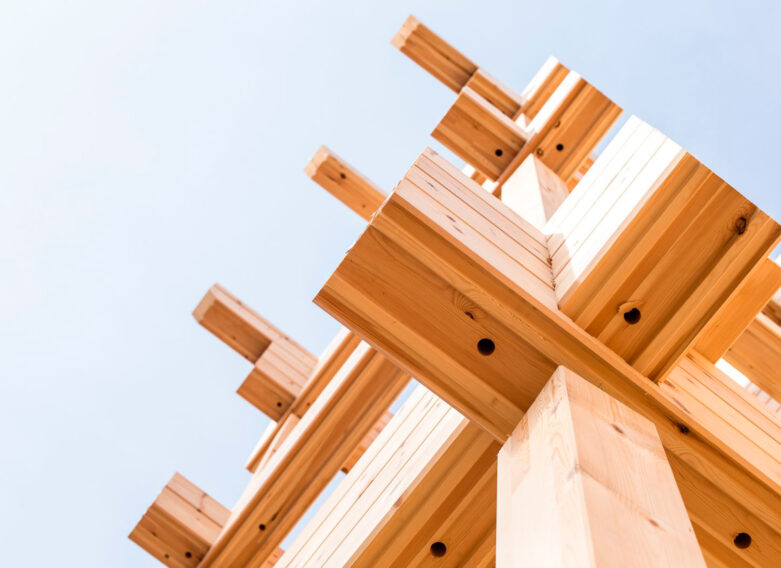
During the frame-raising stage, it felt as though things were happening all the time and at a rapid pace. For a moment, I thought we’d soon be heating up the sauna. Wrong. There’s still no stove on the site, even though six months have passed since the frame went up. As for the interior work, the lesson has been to keep going, keep going, push, push.
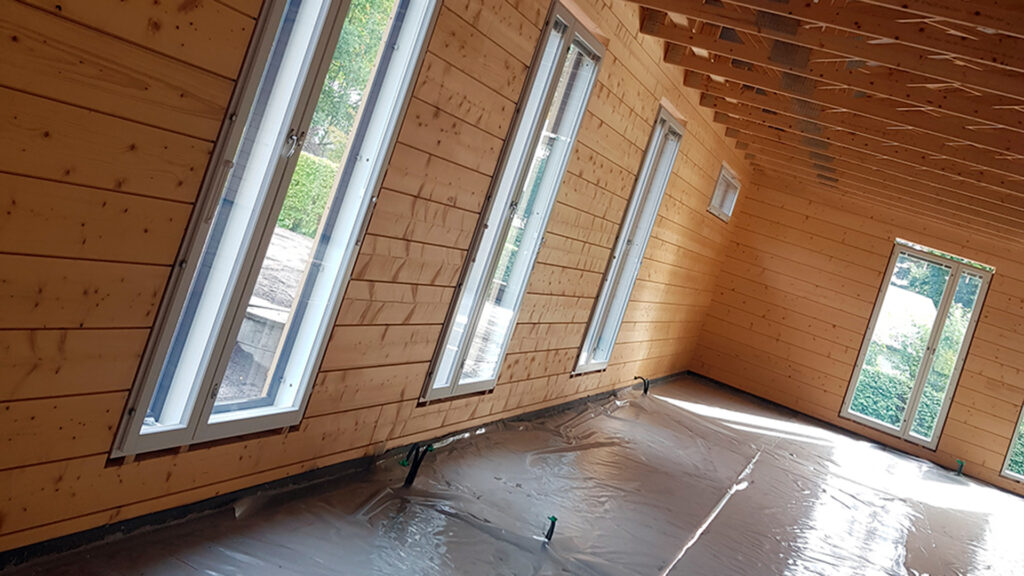
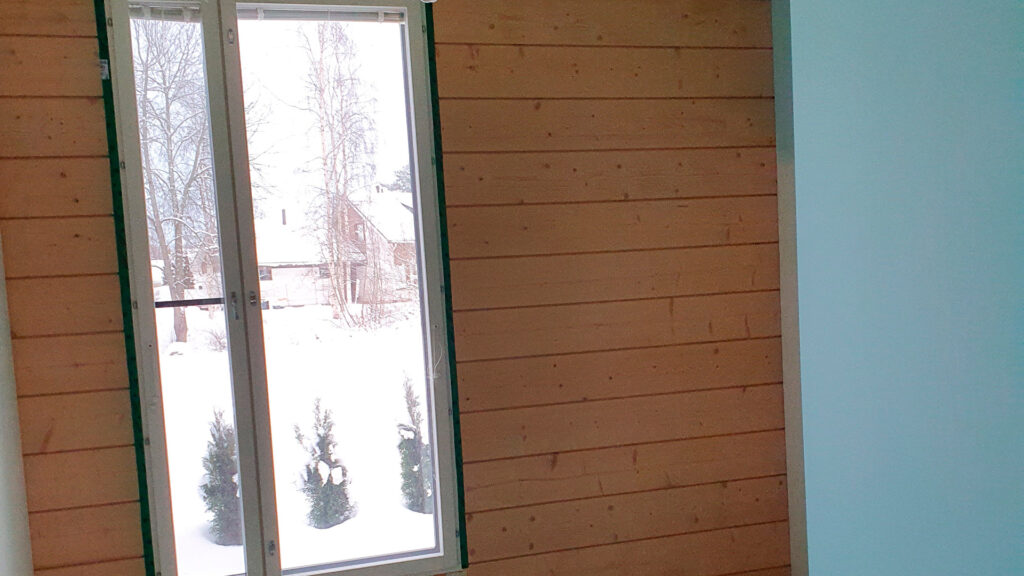
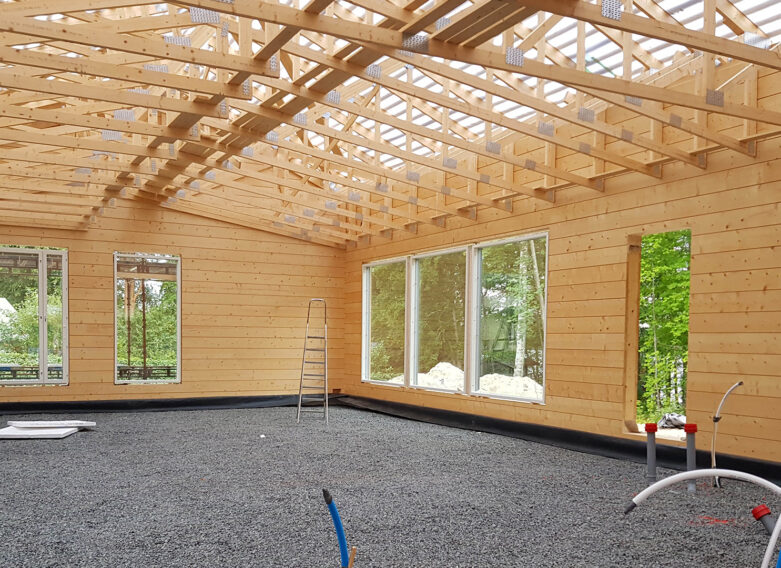
Once the frame was up, the windows were fitted. Fortunately, this work was included in the erection contract. The windows turned out to be larger than I’d imagined, and we needed several men to get the heavy windows into place. After this, the window reveals were sealed with polyurethane foam, the tops of the windows with eco-wool, and finally, vapour barrier tape was applied over the top. My husband took care of the window sealing himself, as well as the carpentry work on the external window frames.
Sealing the gaps
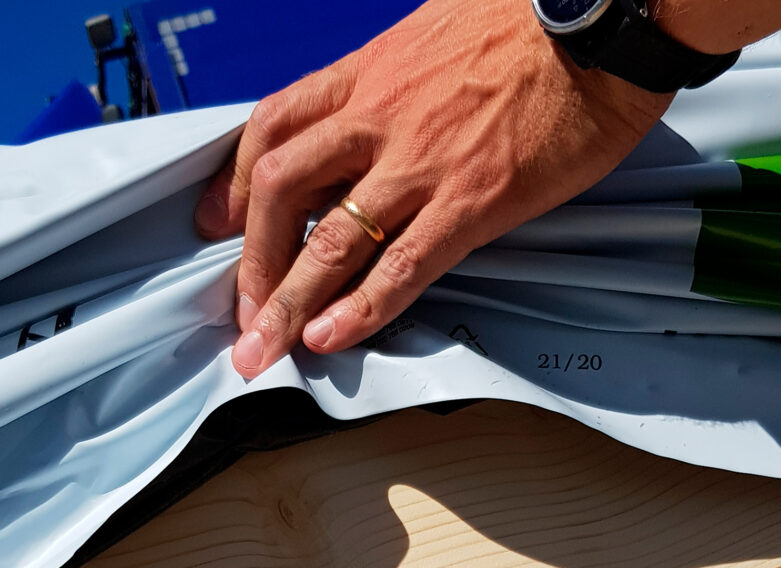
We paid particular attention to ensuring there were no gaps in the roof and that wool would not enter the interior via the ventilation system. We had the ventilation ducts installed by “Better Pipella” as part of the plumbing contract to avoid holes from staples and any gaps in the ventilation pipes. Better Pipella ducts are pre-insulated. Ekovilla air barrier paper, included in the supply, was installed on the roof, after which our carpenters fitted the battens for the suspended ceiling.
Screeds, insulation and fatigue
Once the underfloor heating pipes had been installed in the floor, we were able to pour the screed. After the screed had set, air barrier paper was installed and Ekovilla was blown into the roof cavity. Perhaps the screed was another tangible stage where it felt like the project was really moving forward again.
Autumn passed with my husband pottering about on the building site and me driving the children to their evening activities and making snacks for the builder. Now it all feels like a thing of the past, but it certainly had its own rhythm, and I have to admit that at times it was a bit tiring for both of us.
Growing a thuja hedge
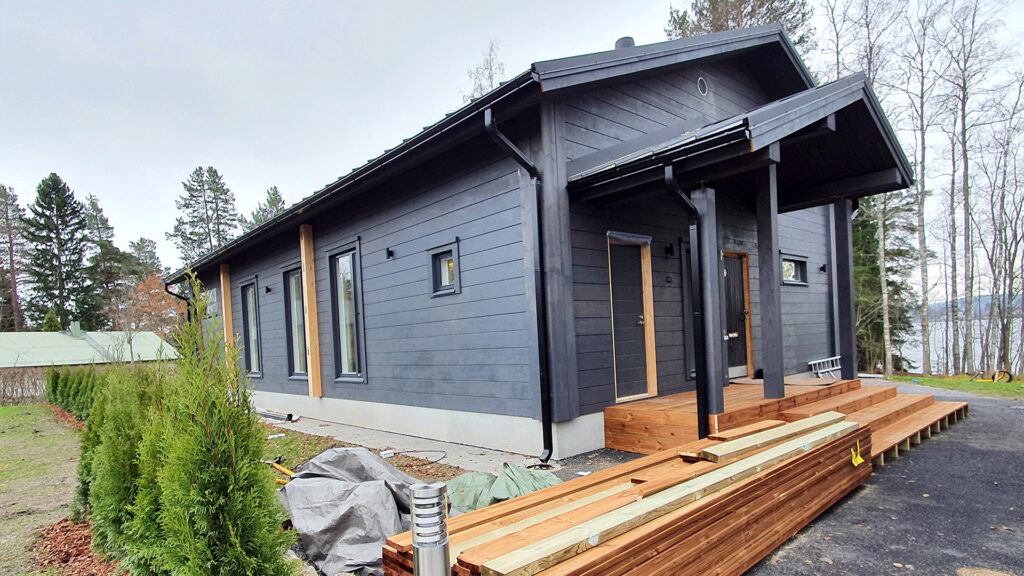
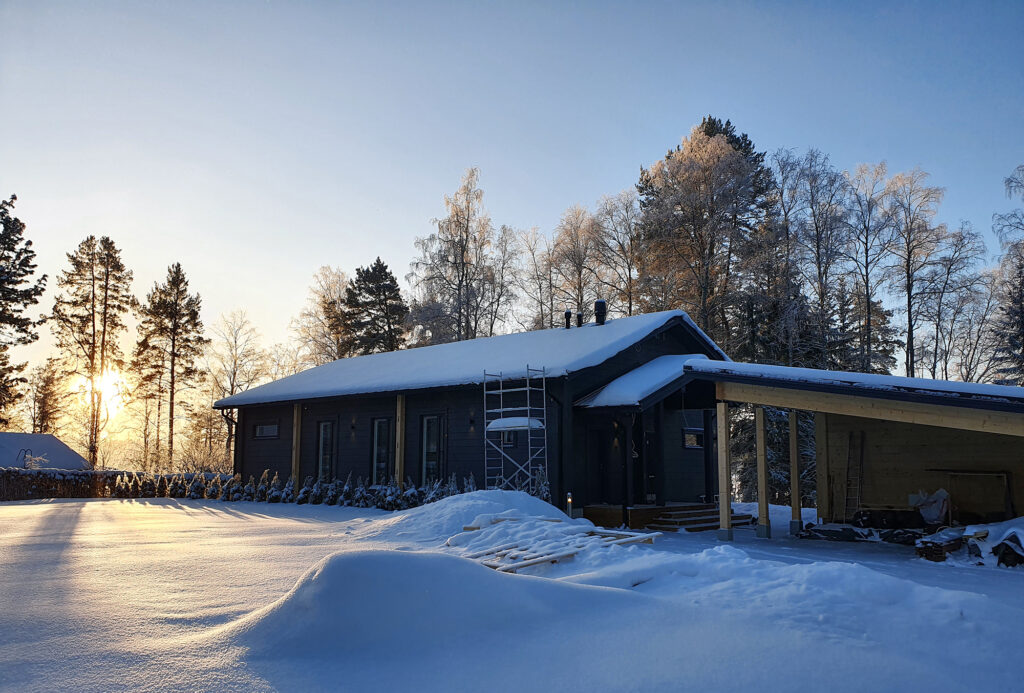
So that the work wouldn’t stop at the end of the summer, we decided to get on with the garden before the snow came. This was made easier by a long, warm autumn. We wanted the lawn to grow and the thuja hedge to take root too. We managed to get the contractors to asphalt the front garden, and we had paving laid around the plinth and around the back terrace. Our handyman built us some lovely steps, and we, in turn, cut the boards to size for him, time and again, within reach of his circular saw.
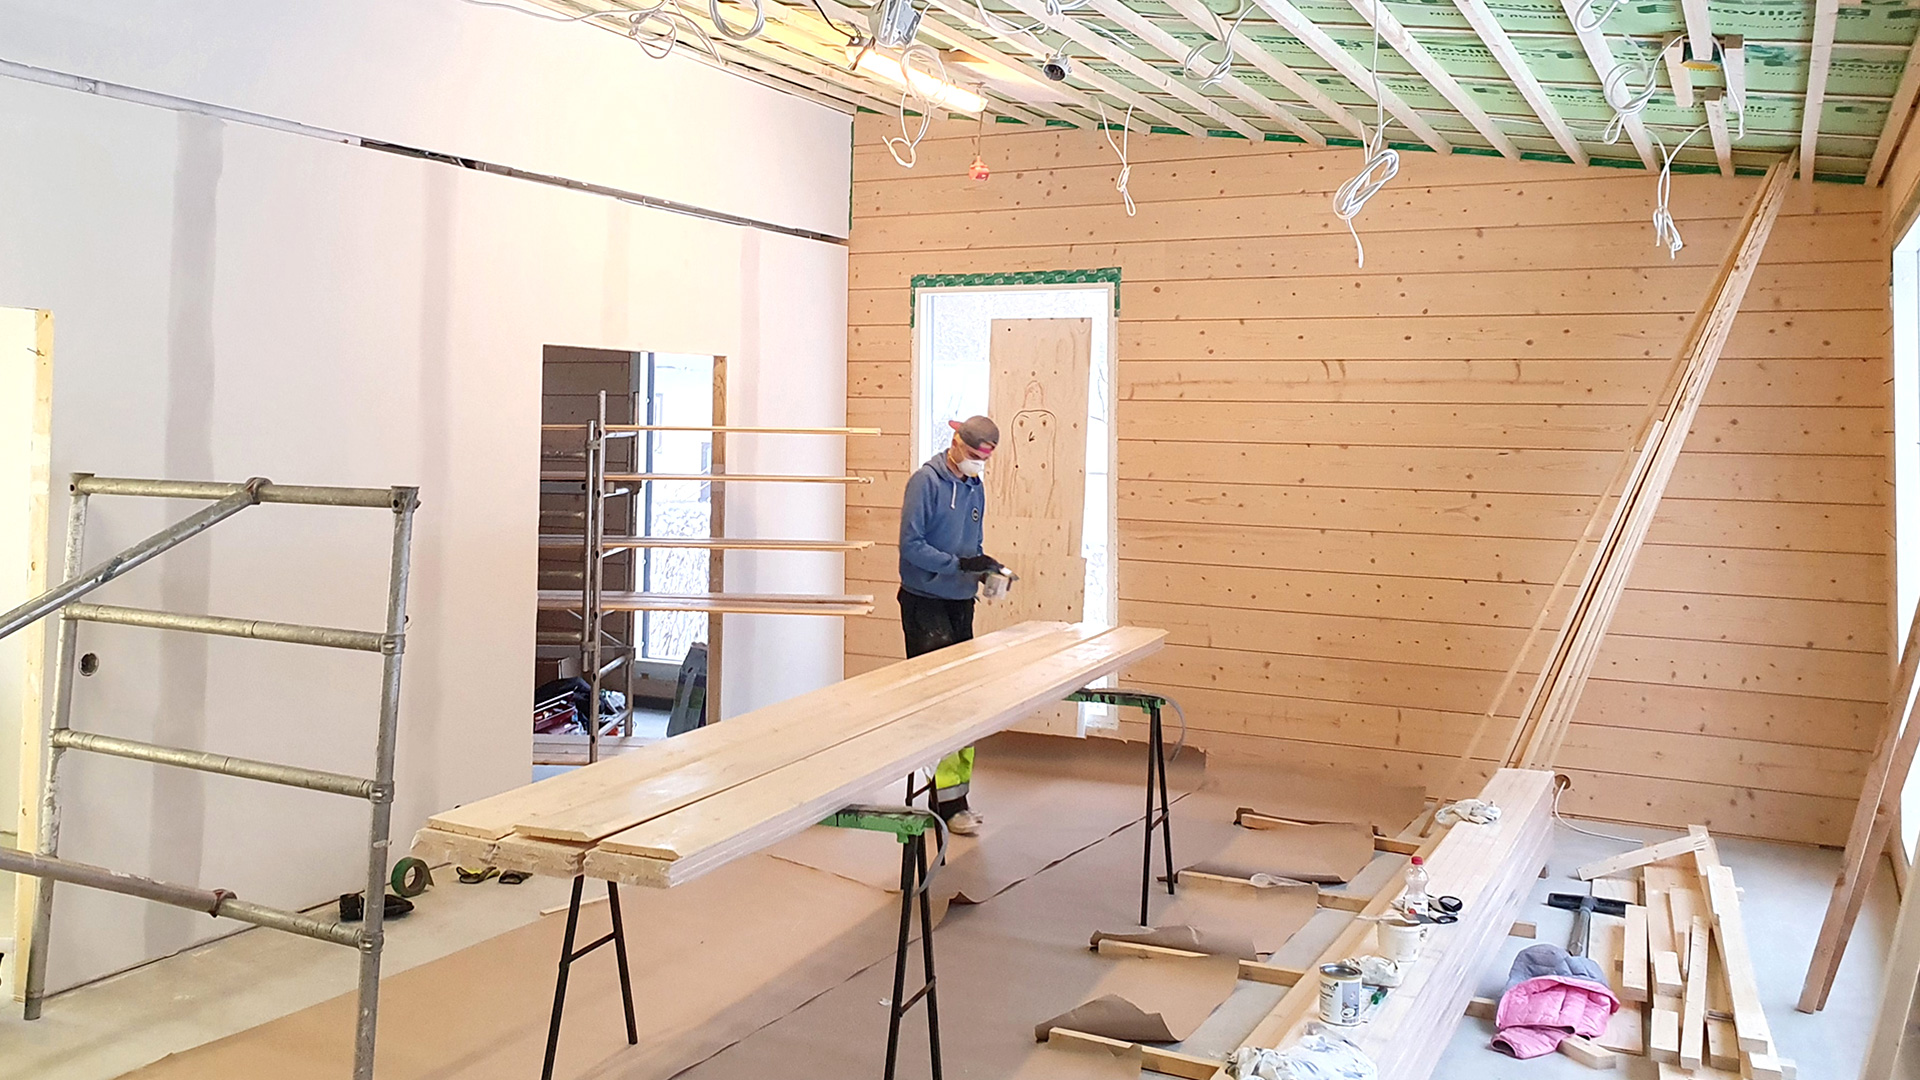
When it comes to the building work, I’ve distinguished myself in two tasks: carrying planks and treating the surface of the logs. Of course, I’ve also helped out with the cleaning from time to time in the evenings. But even that has mostly been handled by my husband.
Thinking about finishes
Finishes – they’re what interest us women the most, and we’ve certainly been pondering them, scrolling through social media and stroking samples in shops long before it was time to make a choice. And yet, when the time comes to choose, things get exciting and hectic when the carpenter rings to say the roof panelling is needed now.
I turned to K-Rauta’s free colour consultation service, which had proved its worth in my previous renovation project. The consultant was the same one as in the previous project.
We drew up a plan based on my ideas in about an hour or two. I had quite a clear vision of an overall white look, which would be repeated mainly on the partition walls and the panelled ceiling. Shades of white are really an art form in themselves, given that the interior doors, Kitchen, window frames and patio doors are all white – and all slightly different shades of white, naturally. I relied on a professional’s opinion regarding which whites to use on the walls to ensure a harmonious end result; placing test patches next to the treated logs also gave an indication of compatibility.
In the end, however, in the midst of the Christmas rush and exhaustion, I managed to lug four tins of white paint in the wrong shade to the building site, after which there were a few tears, and then we carried on.
For the paint, we chose products that met the requirements of our allergy-prone family, and I was recommended by K-Rauta to use Cello Feel paint. I tried to find a natural wax-based wood finish and ended up with Osmo Color. Even so, I carried out all the log surface treatments wearing a proper respirator mask.
I had tried numerous shades of wax before making my final choice of wax and colour. It was at this stage, at the very latest, that we realised that wood has a life of its own. A log that has basked in the sunlight for a while without protection looks slightly different with the same wax treatment as a spruce panel taken straight from the freezer. If you’re really particular about the shades, you need to be on your toes at this stage and protect the interior of the frame as soon as it’s been erected. Another option is to sand the surface before treatment.

Towards a new home
Perhaps at this stage, with the interior walls up and painted, it’s starting to feel as though this project is nearing its conclusion. It’s looming on the horizon, just a few sauna benches and the laying of the parquet flooring away. If everything goes like in the films, we’ll be having a housewarming party at Kultsi next summer. If not next summer, then some other summer. But they’re coming, that’s for sure.

Follow us on Instagram too: @hirsitalo_kultsi
Taija
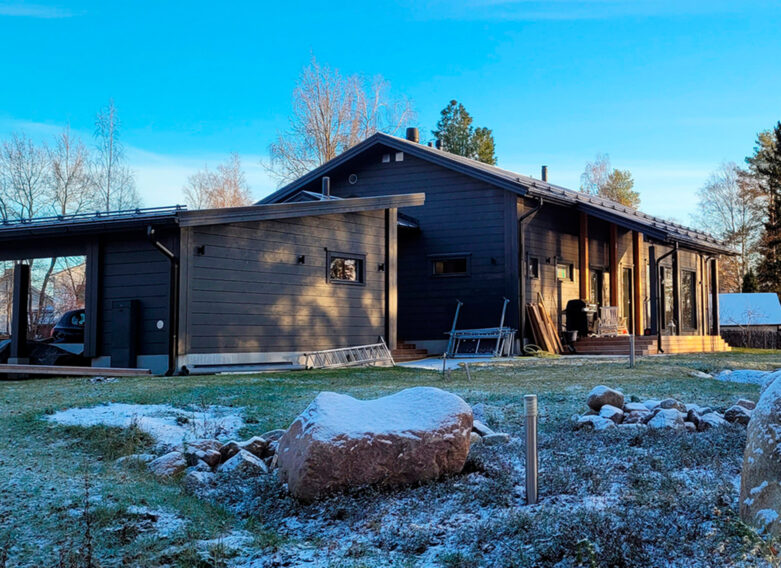
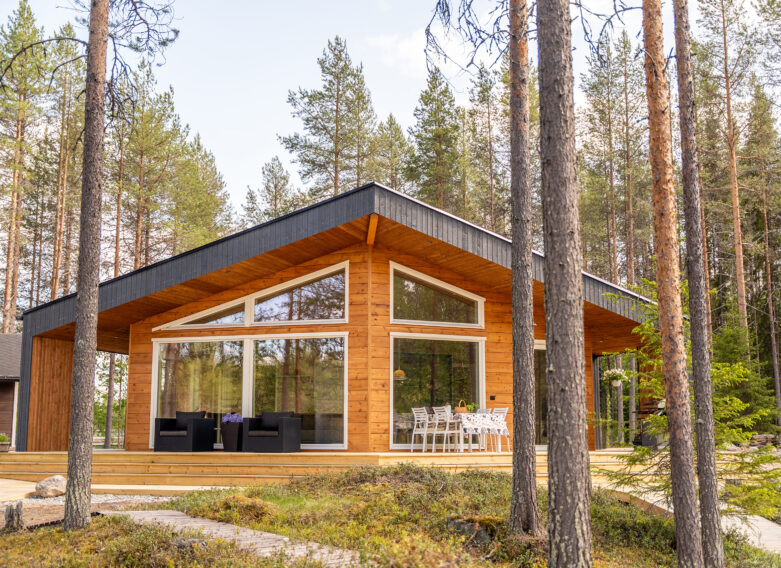
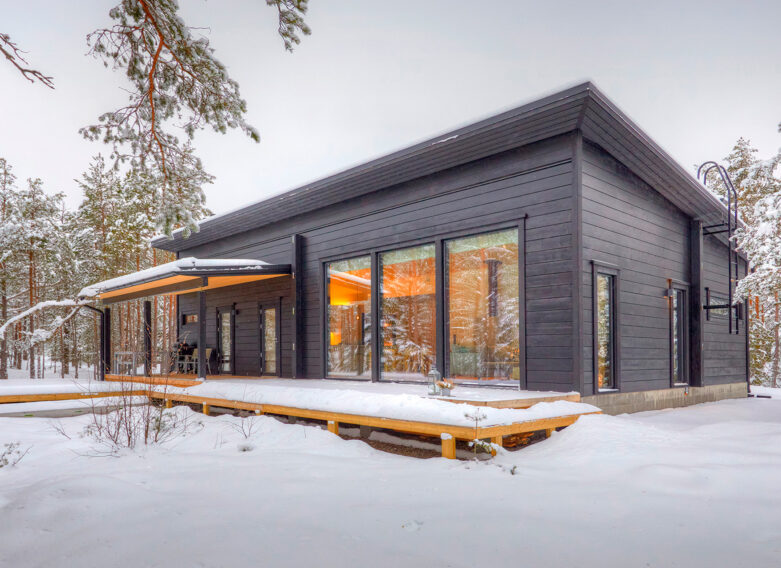
The family is building a modern log house by Kuusamo Log Houses in Central Finland based on their own plans. Blog posts will be published on the different stages of construction. You can also follow the build on Instagram.
Read the author’s other blog posts:
-
Guest article
-
Guest article
-
Guest article
-
Guest article